
How to Wear a Dirndl: Step-by-Step Guide to a Perfect Fit
|
Time to read 8 min
|
Time to read 8 min
Putting on a Dirndl sounds simple — but if you're doing it for the first time, you'll quickly find yourself with more questions than expected. Where does the bow go? How snug should the bodice fit? Which side is the right one? This guide walks you through the dressing process step by step, explains the apron bow meaning, and gives you tips for a perfect fit that lasts all day.
Why you can trust us:
✓ We have been experts in traditional Tracht fashion and Dirndl for over 5 years
✓ We have already dressed more than 10,000 Oktoberfest visitors
✓ We follow the latest Tracht trends and know the newest collections
Want to learn more? Visit our store
The order in which you put on your Dirndl is not arbitrary. It determines whether everything fits well and stays in place all day. Here's how to do it correctly:
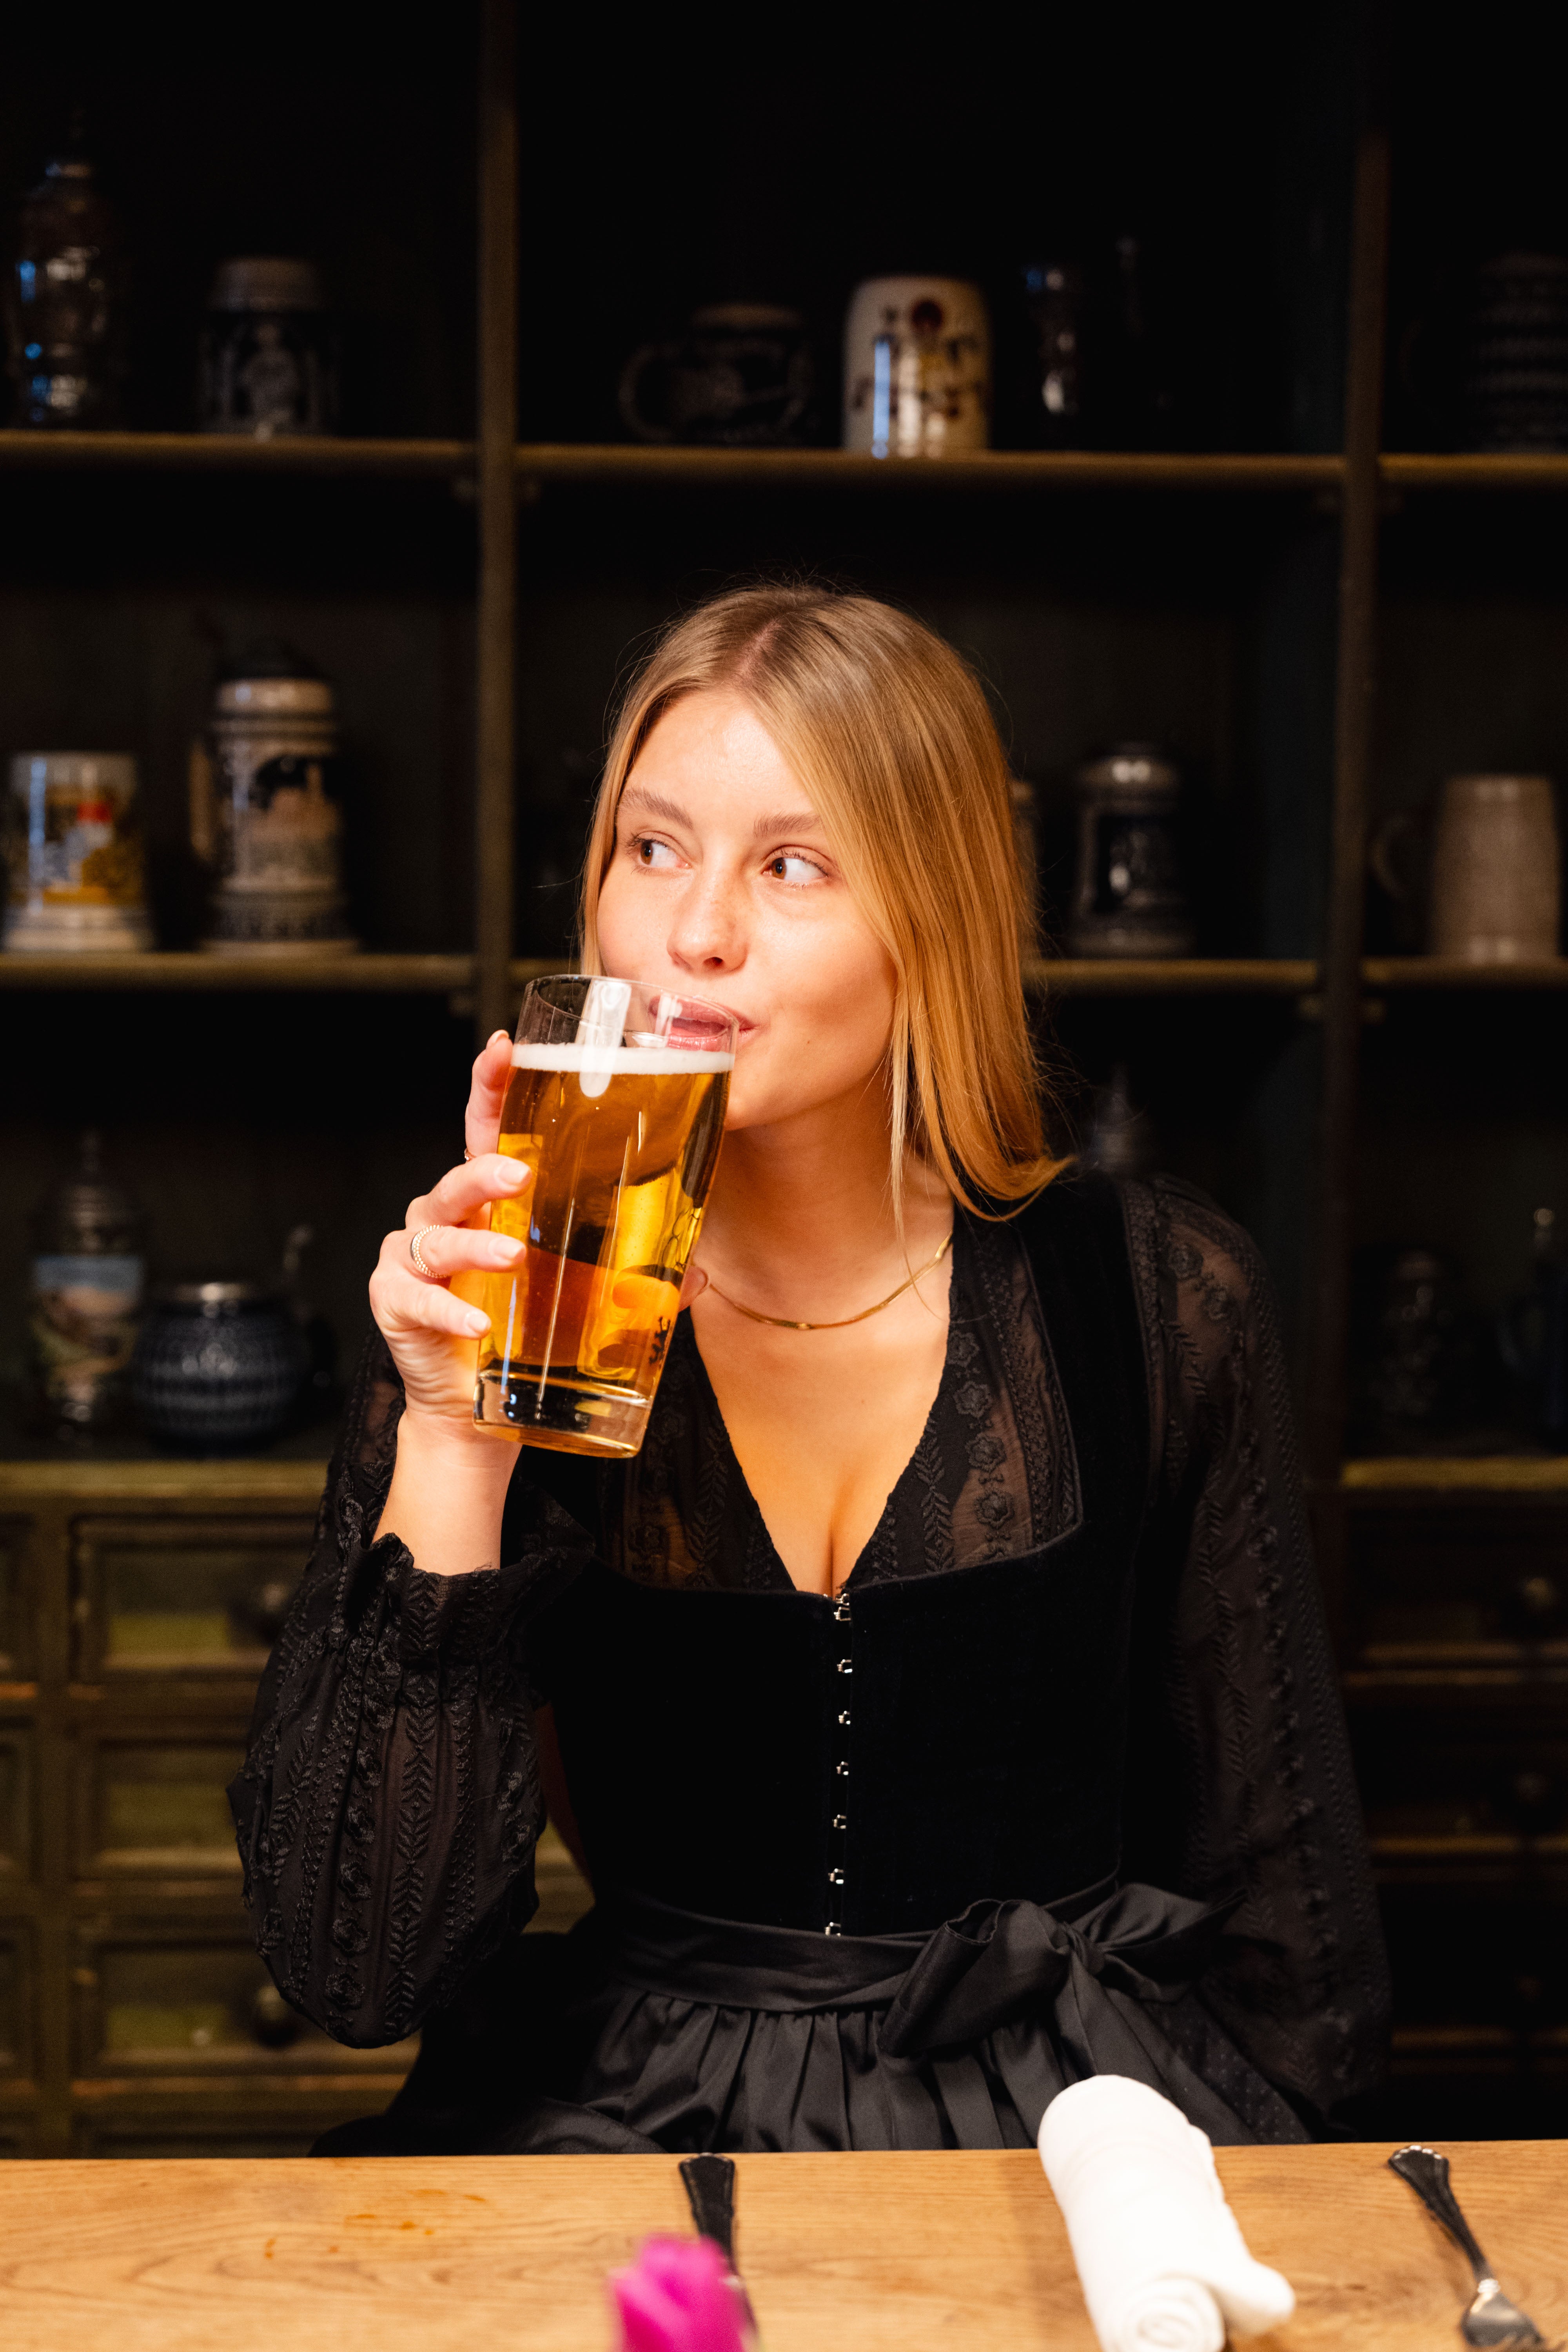
1. Put on your Dirndl bra or push-up bra: The Dirndl is designed to be worn with a special Dirndl bra that provides support and enhances the neckline. A regular sports bra — or no bra at all — results in a flat, unflattering décolletage. The Dirndl bra goes on first, before everything else.
2. Dirndl blouse: Next comes the blouse. Tuck it into the waistband or straight skirt of the Dirndl — don't leave it loose. If the blouse has a high neckline, leave the top buttons undone until the bodice is closed. Important: smooth the blouse flat, no creases or wrinkles.
3. Put on the skirt: Step into the Dirndl skirt and fasten the hooks or buttons at the back. Depending on the style, there may be a full-length zip or hooks at the back. The skirt should sit at the natural waist, not on the hips. Check that it hangs straight and is the same length at the front and back.
4. Close the bodice: The bodice (top part) is closed at the front, either with lacing or buttons. For a lace-up bodice, lace from the bottom upward, pulling evenly. The bodice should fit snugly but still allow you to breathe comfortably. It should hold you in — not cut in. If you can still slip two fingers under the lacing, it's still too loose.
5. Tie the apron: The apron goes on last. Place it flat at the front over the skirt and tie it around your hips at the back. The bow carries meaning (more on that in a moment). Align the apron straight before tying.
For all questions about the right sizes and how a Dirndl should fit, also read our Dirndl Size Guide.
The position of the Dirndl apron bow is one of the most well-known symbols in traditional Tracht fashion and carries a clear social meaning. Every woman wearing a Dirndl uses it to signal whether she is taken or not.
Bow on the right: Taken or in a committed relationship. This is the most common option at Oktoberfest.
Bow on the left: Single and available. Curious gentlemen know exactly what that means.
Bow at the back: Widowed — or worn by waitstaff (service staff often tie their apron at the back).
Bow at the front centre: Symbolising virginity but not married (historical tradition, rarely observed today).
Do you have to follow these rules? No. The meaning is a tradition, not a requirement. Many women choose the position based on aesthetics or without knowing the tradition at all. At Oktoberfest, however, it's a well-known topic and you may be asked about it. If you'd rather avoid the conversation: bow on the right.
How to tie the bow correctly: Lay the apron symmetrically at the front. Bring both apron ties around to the back, cross them once, then bring them back to the front. Tie an even bow. The bow should be neat and symmetrical — not a loose knot. Tip: practise tying it at home so you don't have to improvise at the festival.
Apron length: The apron should be shorter than the skirt — ideally by 5 to 10 cm. An apron that is longer than the skirt looks as though it's the main garment. Find the right apron in our Apron Shop.

A well-fitting Dirndl makes all the difference. Check these points after getting dressed:
Bodice: The bodice fits correctly when it sits close to the body without cutting in. It should support and hold the bust securely. If the bodice leaves a gap at the front or gapes open, it's too large. If it pinches or cuts in, it's too small. When sitting and bending over, it should neither spring open nor dig in.
Blouse: The blouse should neither reveal too much nor too little. The neckline of the blouse is shaped by the bodice. If the bodice fits well, the blouse will usually sit correctly too. Check that the blouse sleeves are the right length: classic length is just below the elbow.
Skirt: The skirt sits at the natural waist, not on the hips. It should not slide forward or twist. If the skirt rotates, it is hanging unevenly or was fastened incorrectly. Check that the back seam is straight.
Overall length: Stand up straight and check that the Dirndl is the same length on all sides. For mini length up to 60 cm, you should still be able to sit down and climb stairs comfortably. For midi length up to 85 cm, this is no issue at all. Find out more about lengths in our Dirndl Length Guide.
Apron: Sits evenly at the front, hangs straight, is shorter than the skirt, bow is tied symmetrically. Check.
Once the Dirndl is fully on, it's time for the accessories. Here too, there's a sensible order to follow:
1. Jewellery first: Tracht jewellery such as a choker necklace is best put on before hair accessories, as you may need to tilt your head or look slightly downward when fastening it.
2. Hair and hair accessories: Finish your hairstyle first, then add a flower crown or headband. If you have long hair, a braid or bun works well under a flower crown. Wearing hair down with a flower crown or headband looks elegant as long as it's neat. Make sure your hair accessory sits securely and won't slip.
3. Earrings: Put these on last, so you don't lose them while styling your hair or accidentally knock them off when putting on your flower crown.
4. Handbag: Reach for a Dirndl bag or a small crossbody bag. Large backpacks or sports bags don't work with a Dirndl. Leave them at the cloakroom in the tent or store them under the bench.
Perfume and hairspray first: Apply both products before putting on any jewellery. The chemicals in perfume and hairspray can tarnish silver jewellery and damage pearls.
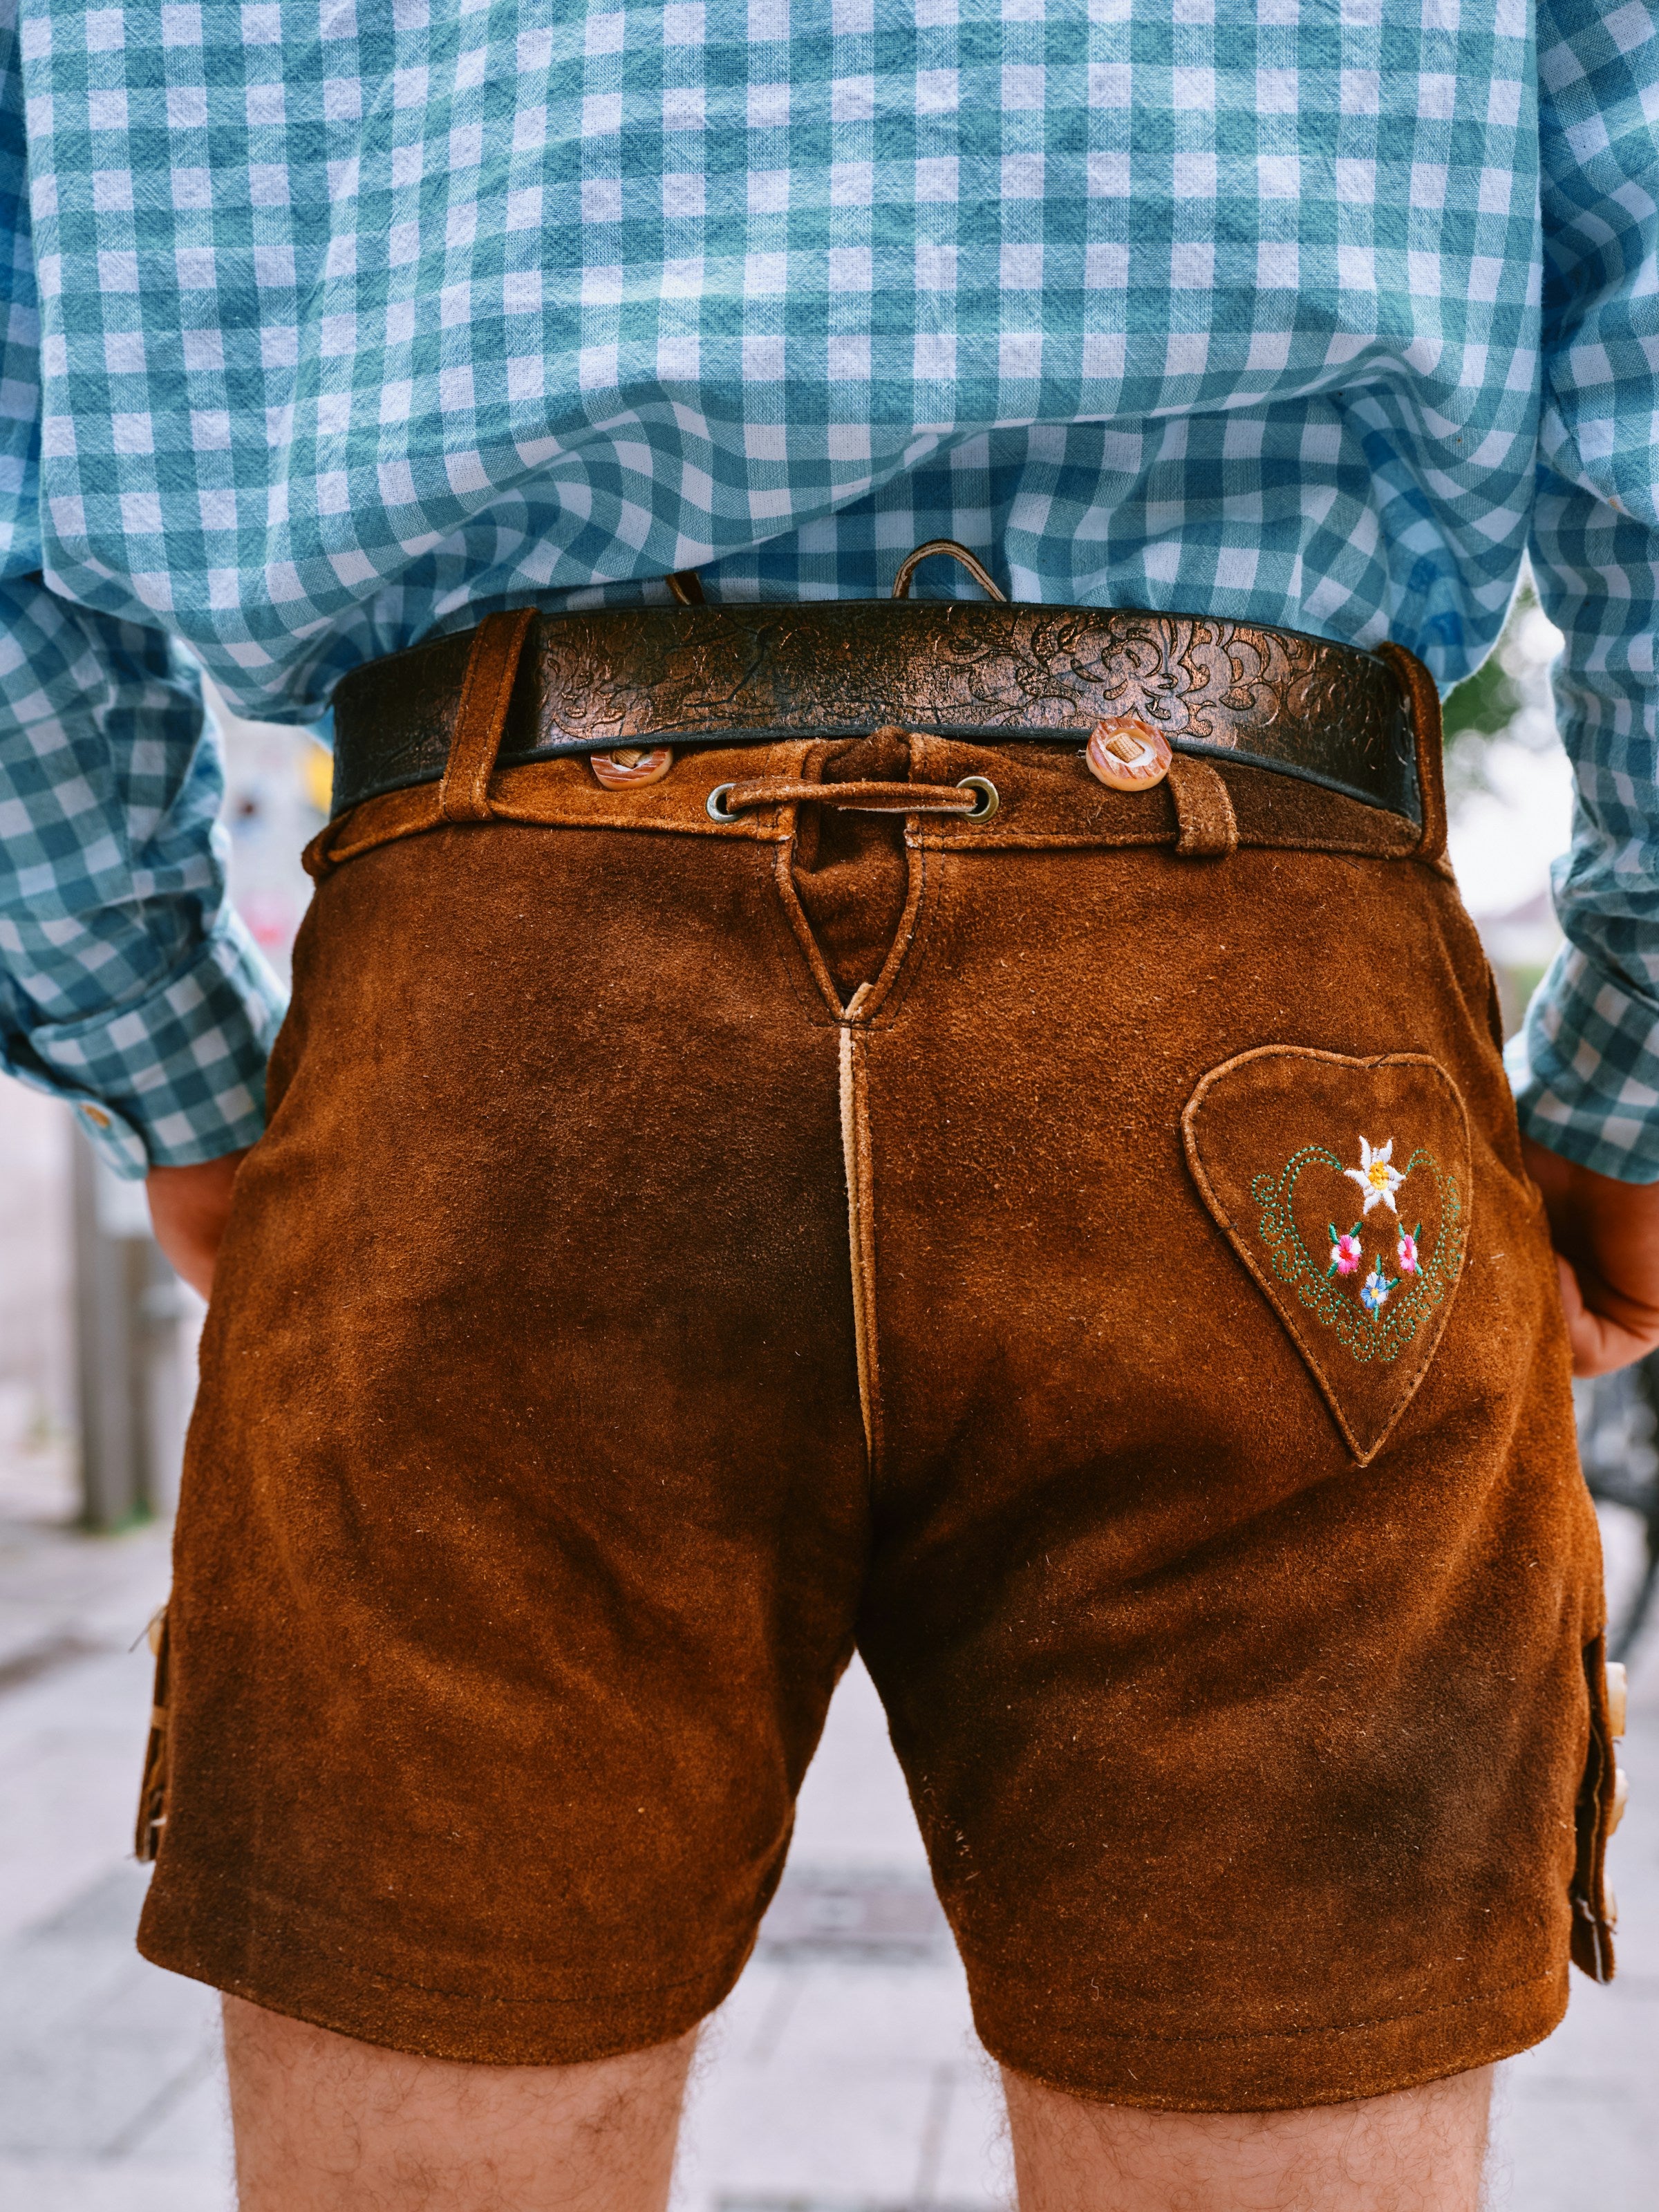
5. Shoes: Put your shoes on last. Haferlschuhe, ballet flats, or flat sandals are the best options. High heels over 5 cm become pure agony at a folk festival after just 30 minutes.

These are the mistakes we see time and again at Oktoberfest and traditional Tracht festivals:
Bodice too loose: A loosely fitting bodice provides no support and gives the décolletage no structure. The bodice should fit snugly. If you notice it has loosened after an hour, it was already too loose when you put it on — or the Dirndl is poorly made.
Wrong apron length: An apron that is longer than the skirt throws off the entire look. Always check that the apron is at least 5 cm shorter than the skirt.
Wrong blouse: A Dirndl blouse that is too short or too tight will ruin the look. The blouse should be fully covered beneath the bodice (no midriff showing) and the sleeves should be the correct length. Find out more about choosing the right blouse in the Dirndl Blouse Guide.
Incorrectly tied bow: An uneven or knot-like bow looks untidy. Practise tying the bow at home until you get it right.
Regular bra instead of a Dirndl bra: The most visible mistake of all. An ordinary bra strap peeking out from under the bodice neckline looks unsightly. Always choose a proper Dirndl bra — one that is invisible or matches the colour of your Dirndl.
Too much jewellery: Three pieces of jewellery is the maximum. Wearing a choker, large earrings, a bracelet, a headband, and a brooch all at once distracts from the Dirndl rather than enhancing it. Less is more.
Putting on a Dirndl becomes routine with a little practice. The key points: follow the correct order, lace the bodice snugly, tie the bow with intention, and don't forget the right bra. If you're wearing a Dirndl for the first time, give yourself at least 30 minutes at home — don't leave it until you're in the hotel room right before the festival. With this guide, you're perfectly prepared.
If you're looking for a new Dirndl that is easy to care for and beautifully made, feel free to visit our store
Discover Dirndl Accessories
Bow on the right means taken. Bow on the left means single. Bow at the back means widowed, or is worn by waitstaff. There is no strict obligation to follow the tradition, but at Oktoberfest the meaning is well known and you may be asked about it.
The bodice should fit snugly and provide support, but must not cut in. A good rule of thumb: you should still be able to take a deep breath, but if you can slip two fingers under the lacing, it's too loose. The fabric will settle over time, at which point you can tighten the lacing slightly.
Yes. A Dirndl bra or a strongly padded push-up bra is recommended. The Dirndl is designed to enhance and support the décolletage. A regular sports bra — or no bra at all — causes the bodice to sit poorly and the décolletage to look flat.
1. Dirndl bra, 2. Dirndl blouse, 3. skirt, 4. close the bodice, 5. tie the apron. Then put on jewellery, add hair accessories, and shoes last. Always apply perfume and hairspray before putting on jewellery.
The apron should always be shorter than the skirt — ideally by 5 to 10 cm. An apron that is the same length as, or longer than, the skirt looks wrong. The bow should be tied symmetrically and neatly.
If the bodice is too loose, tighten the lacing. If the skirt is too tight, check whether it was fastened incorrectly. If the Dirndl is fundamentally the wrong size, it's important to know your measurements before buying. See the Dirndl Size Guide for more information.
Discover Matching Tracht

Stay up to date
Sign up and be the first to find out about new collections, exclusive offers and styling tips for your perfect traditional outfit.


